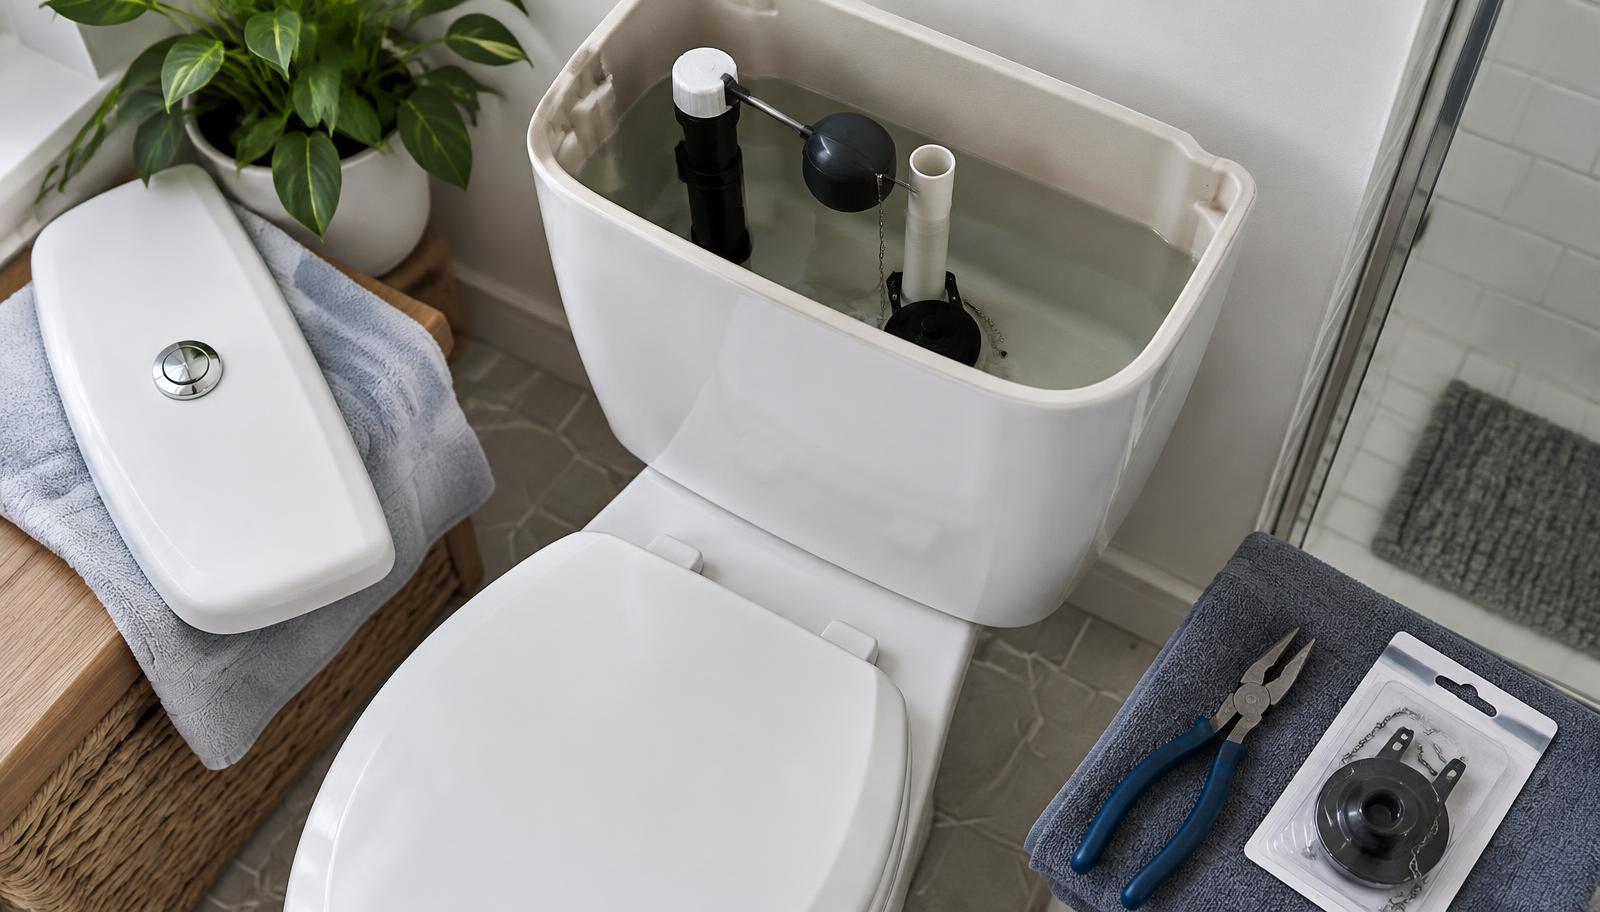
How to Fix a Running Toilet in 30 Minutes
Diagnose the flapper, water level, and fill valve to stop wasted water with a quick, reliable repair.
Difficulty
Beginner
Time
About 30 minutes
Overview
A toilet that runs between flushes usually has one of three simple problems: the flapper is not sealing, the tank water is set too high, or the fill valve no longer shuts off cleanly. You can identify the cause by watching one flush and making one adjustment at a time. Most repairs require no plumbing experience, and replacement parts are inexpensive when matched to the toilet before installation.
Tools & materials
Tools
- Adjustable wrench
- Small pliers
- Sponge
- Bucket
- Old towel
- Flashlight
Materials
- Matching toilet flapper
- Universal fill valve if needed
- Replacement supply-line washer if needed
- Food coloring for a leak test
- Cleaning cloth
Step-by-step instructions
- 1
Watch a complete flush
Remove the tank lid carefully and set it on a folded towel. Flush once, then watch the chain, flapper, float, fill valve, and overflow tube as the tank refills. The flapper should lift freely and settle flat; the water should stop about one inch below the top of the overflow tube.
If the exact cause is unclear, add several drops of food coloring to the tank after it fills. Wait ten minutes without flushing. Colored water in the bowl confirms that the flapper or flush-valve seat is leaking.
- 2
Check the chain and flapper
Make sure the chain has a little slack when the flapper is closed. A chain pulled tight can hold the flapper open, while too much slack can tangle beneath it. Rehook the chain one link at a time and test the handle.
Press lightly on the closed flapper. If the running stops, shut off the supply valve, flush to empty the tank, and sponge out the remaining water. Unhook the old flapper and take it to the store so its mounting style and size can be matched accurately.
- 3
Clean and replace the seal
Wipe mineral deposits from the flush-valve rim with a damp cloth. Install the new flapper according to its package directions, keeping the chain free of the float and fill-valve arm. Restore the water, allow the tank to fill, and test two or three flushes before moving on.
- 4
Set the correct water level
If water flows into the overflow tube, lower the float. On a cup-style valve, use its adjustment screw or clip; on an older ball float, turn the adjustment screw rather than bending the arm sharply. Set the shutoff level at the tank’s marked water line or roughly one inch below the overflow opening.
Flush again and let the tank refill completely. The fill valve should stop decisively, without a hiss or a thin stream entering the overflow tube.
- 5
Replace a fill valve that will not shut off
If adjustment does not stop the flow, shut off the supply and flush the tank empty. Disconnect the supply line beneath the tank, loosen the fill-valve locknut, and lift out the old valve. Keep the bucket below the opening to catch remaining water.
Set the replacement valve height so its critical-level mark sits at least one inch above the overflow tube. Tighten its locknut by hand, reconnect the supply without overtightening, attach the refill tube to the overflow clip, and set the final water level after restoring the supply.
- 6
Test for a quiet, dry finish
Dry the supply connection and tank underside, then watch them through several flushes. Repeat the food-coloring test after the tank settles. No color in the bowl, no water entering the overflow, and no hiss after refill confirm the repair.
Common pitfalls & troubleshooting
The new flapper still leaks
Confirm it matches the flush-valve size, sits squarely on a clean rim, and has enough chain slack to close fully.
The toilet double-flushes
The flapper may stay open too long. Adjust its float or use the timing setting recommended for your toilet.
The fill valve hisses after adjustment
Debris may be trapped inside or the valve seal may be worn. Flush it according to its instructions or replace the valve.
Water appears beneath the tank
Shut off the supply immediately, dry the area, and identify whether the leak comes from the supply line, fill-valve seal, or tank bolts before proceeding.
A running toilet is usually fixed by restoring a clean flapper seal or lowering the water level. Make one change at a time, test several flushes, and keep every connection dry. If porcelain is cracked or water continues leaking outside the tank, stop using the toilet and call a plumber.