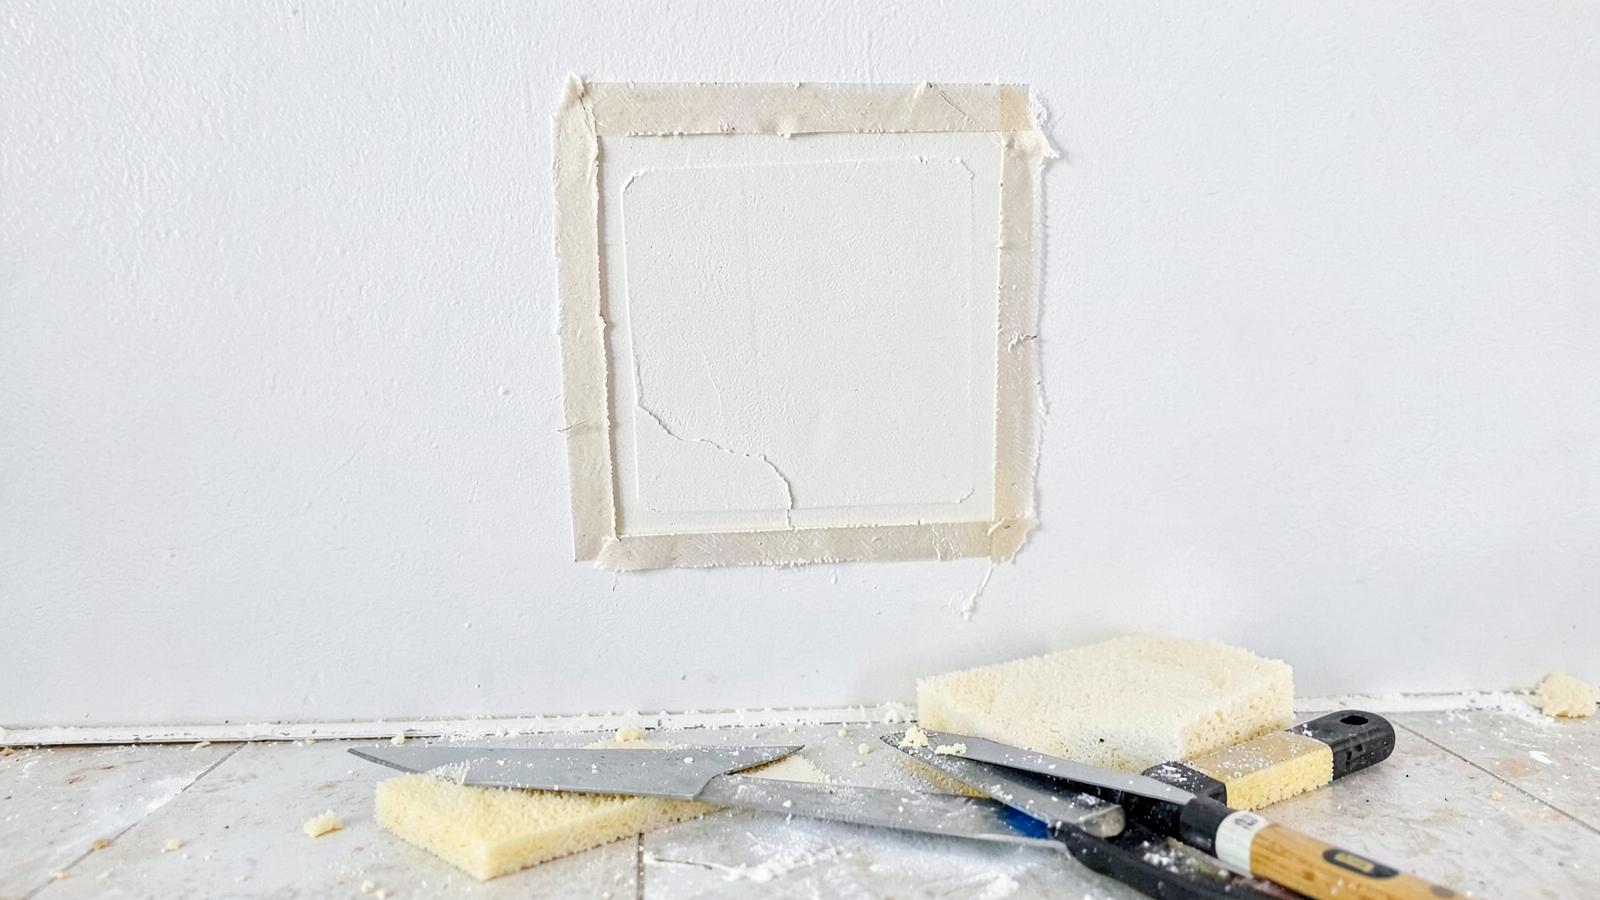
How to Patch Drywall Holes Like a Pro
Match the patch to the damage, build thin layers of compound, and make the repair disappear after paint.
Difficulty
Beginner
Time
2–4 hours over 1–2 days
Overview
Drywall repair is mostly an exercise in patience. The patch itself is rarely difficult; visible humps come from using too much compound and sanding too small an area. The goal is a firm repair covered by several thin, increasingly wide coats so the transition becomes too gradual to see.
Tools & materials
Tools
- Utility knife
- 6-inch taping knife
- 10- or 12-inch taping knife
- Sanding sponge
- Drill/driver
- Work light
Materials
- Matching drywall scrap
- Wood backer strips
- Drywall screws
- Paper joint tape
- Joint compound
- Primer and matching paint
Step-by-step instructions
- 1
Size up the damage
Use lightweight spackle for nail holes and small dents. Holes up to roughly two inches can use setting compound and mesh; openings from two to six inches need a supported drywall piece or California patch. Cut larger damage back to framing or install wood backers so every edge is solid.
- 2
Prepare a clean opening
Remove loose paper and crumbling gypsum. Square the opening with shallow utility-knife cuts. Slip two wood strips behind a medium opening and drive drywall screws through the existing wall into each strip.
Cut replacement drywall about one-eighth inch smaller than the opening and screw it to the backers. Small, even gaps are easier to fill than a piece forced into place.
- 3
Tape the seams
Spread a thin bed of compound over each seam, press paper tape into it, and remove excess with a six-inch knife. Paper tape makes a strong, flat joint when fully bedded. A bubble means the tape needs more compound beneath it.
- 4
Build wide, thin coats
Let premixed compound dry fully. Apply a second coat with a wider knife, extending four to six inches past the first. Feather the outside edge with slightly more pressure, then make the third coat wider and thinner again.
Shine a work light sideways across the repair. Raking light reveals ridges and hollows that are difficult to see straight on.
- 5
Sand, prime, and paint
Scrape high ridges first, then sand lightly with 150- or 180-grit. Stop when the transition feels smooth under your fingertips. If tape appears, add another thin coat instead of sanding farther.
Match the wall texture, then spot-prime the entire repaired area. Paint beyond the patch with the original color and sheen; if the wall has faded, paint from corner to corner for an even finish.
Common pitfalls & troubleshooting
Tape bubbles after drying
Cut out the loose section, add fresh compound underneath, and bed a new piece of tape.
The patch shows as a raised hump
Feather another very thin coat farther outward rather than sanding aggressively at the center.
Paint looks dull over the repair
Apply drywall primer over the full compound area before repainting.
Thin coats, wide feathering, and full drying time make the difference. Let light and touch—not extra sanding—tell you when the wall is ready for primer.