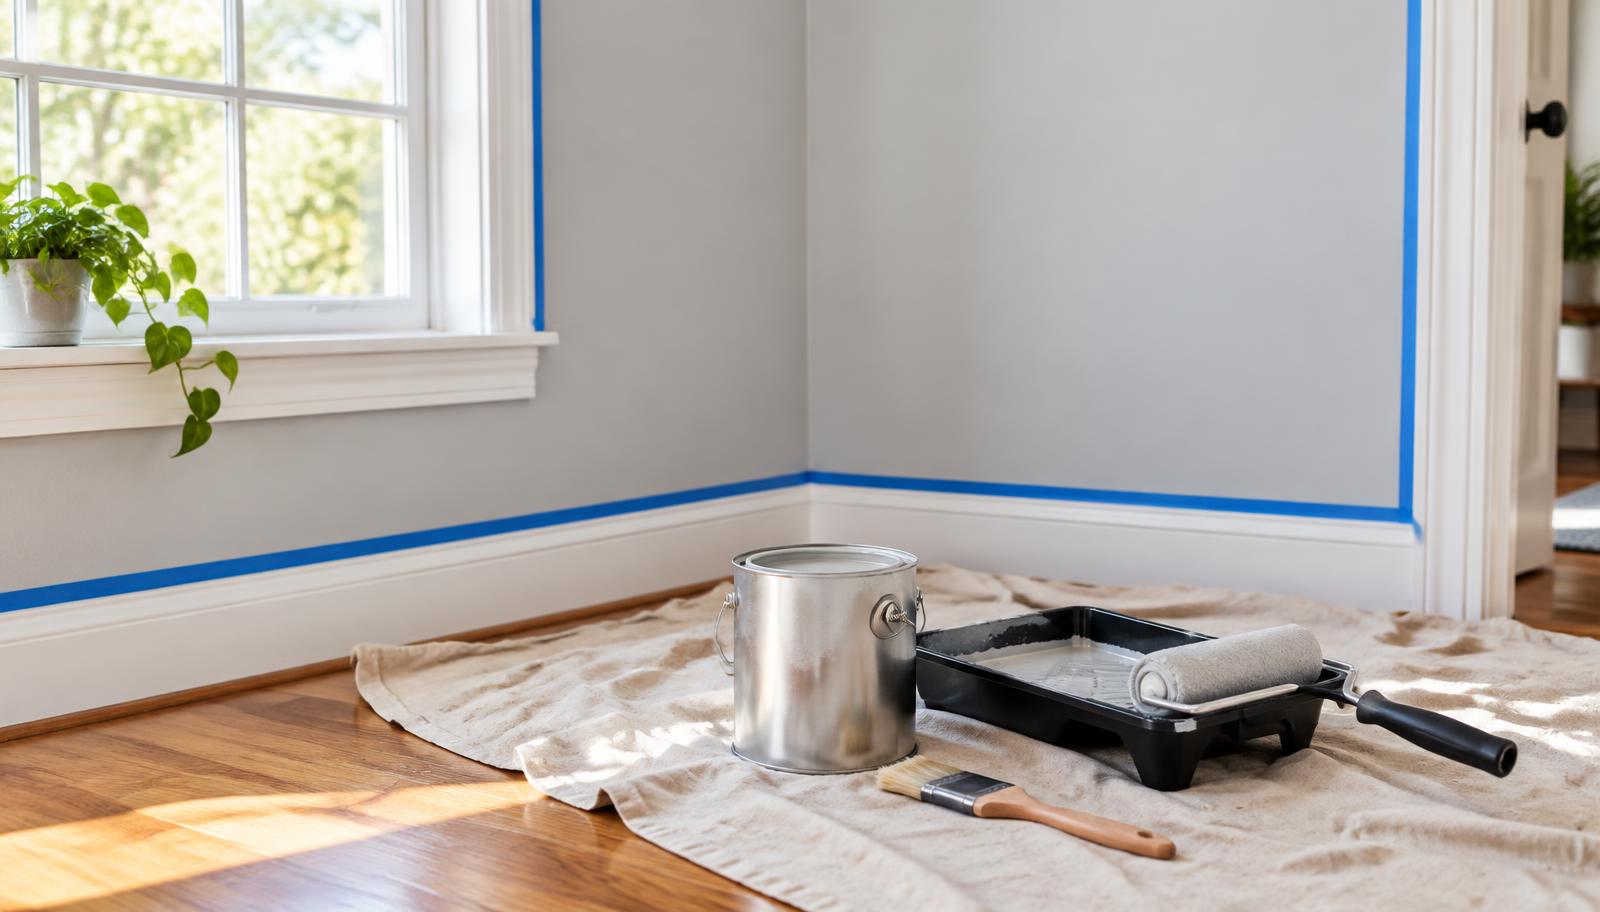
How to Paint an Interior Room for Crisp, Flawless Lines
Prepare carefully, cut clean edges, and roll a consistent finish without lap marks or paint bleed.
Difficulty
Beginner
Time
1–2 days including drying
Overview
Professional-looking paint depends more on preparation and sequence than speed. Clean walls, repaired flaws, quality tools, and a wet working edge prevent most uneven color and ragged lines. Plan to spend at least as much time preparing as painting.
Tools & materials
Tools
- 2½-inch angled sash brush
- 9-inch roller frame
- Extension pole
- Paint tray and liner
- Putty knife
- Work light
Materials
- Interior paint
- Primer
- Spackle
- 180-grit sanding sponge
- Painter’s tape
- Canvas drop cloths
- Clean rags
Step-by-step instructions
- 1
Clear and protect the room
Move small items out and gather larger furniture in the center. Cover floors with canvas drop cloths, remove switch plates, and label hardware. Dust trim and vacuum wall edges so debris cannot enter the finish.
- 2
Clean, repair, and prime
Wash greasy or handled areas with a mild cleaner and let them dry. Fill dents in thin layers, sand smooth, and spot-prime repairs. Prime the entire wall when changing from a dark color, sealing stains, or painting new drywall.
- 3
Mask for genuinely clean edges
Apply painter’s tape in short, straight runs and press the paint-side edge firmly with a clean putty knife. For textured surfaces, seal the tape edge with a very thin coat of the existing wall or trim color before applying the new color.
- 4
Cut in one workable section
Load only the lower third of an angled brush, tap off excess, and paint a two- to three-inch band along the ceiling, corners, and trim. Work one wall at a time so the cut line remains wet when you begin rolling.
- 5
Roll from wet edge to dry
Load the roller evenly and make a broad W pattern without pressing hard. Fill the section with overlapping passes, then finish with light strokes in one direction. Keep a wet edge and complete the full wall before stopping.
- 6
Apply the final coat and remove tape
Allow the first coat to dry for the label’s full recoat time. Apply the second coat in the same sequence. Remove tape while the final coat is slightly tacky, pulling it back over itself at a 45-degree angle; score stubborn edges lightly first.
Common pitfalls & troubleshooting
Paint bleeds under tape
Press the edge firmly and seal it with the adjacent color before the finish coat.
Roller marks remain
Use enough paint, avoid excess pressure, and finish each section while the edge is still wet.
The repaired spot flashes
Prime the full repaired area and use the same roller nap as the surrounding wall.
Preparation, a wet edge, and two controlled coats produce cleaner results than trying to cover everything in one heavy pass. Let the paint cure before washing or rehanging heavy wall décor.