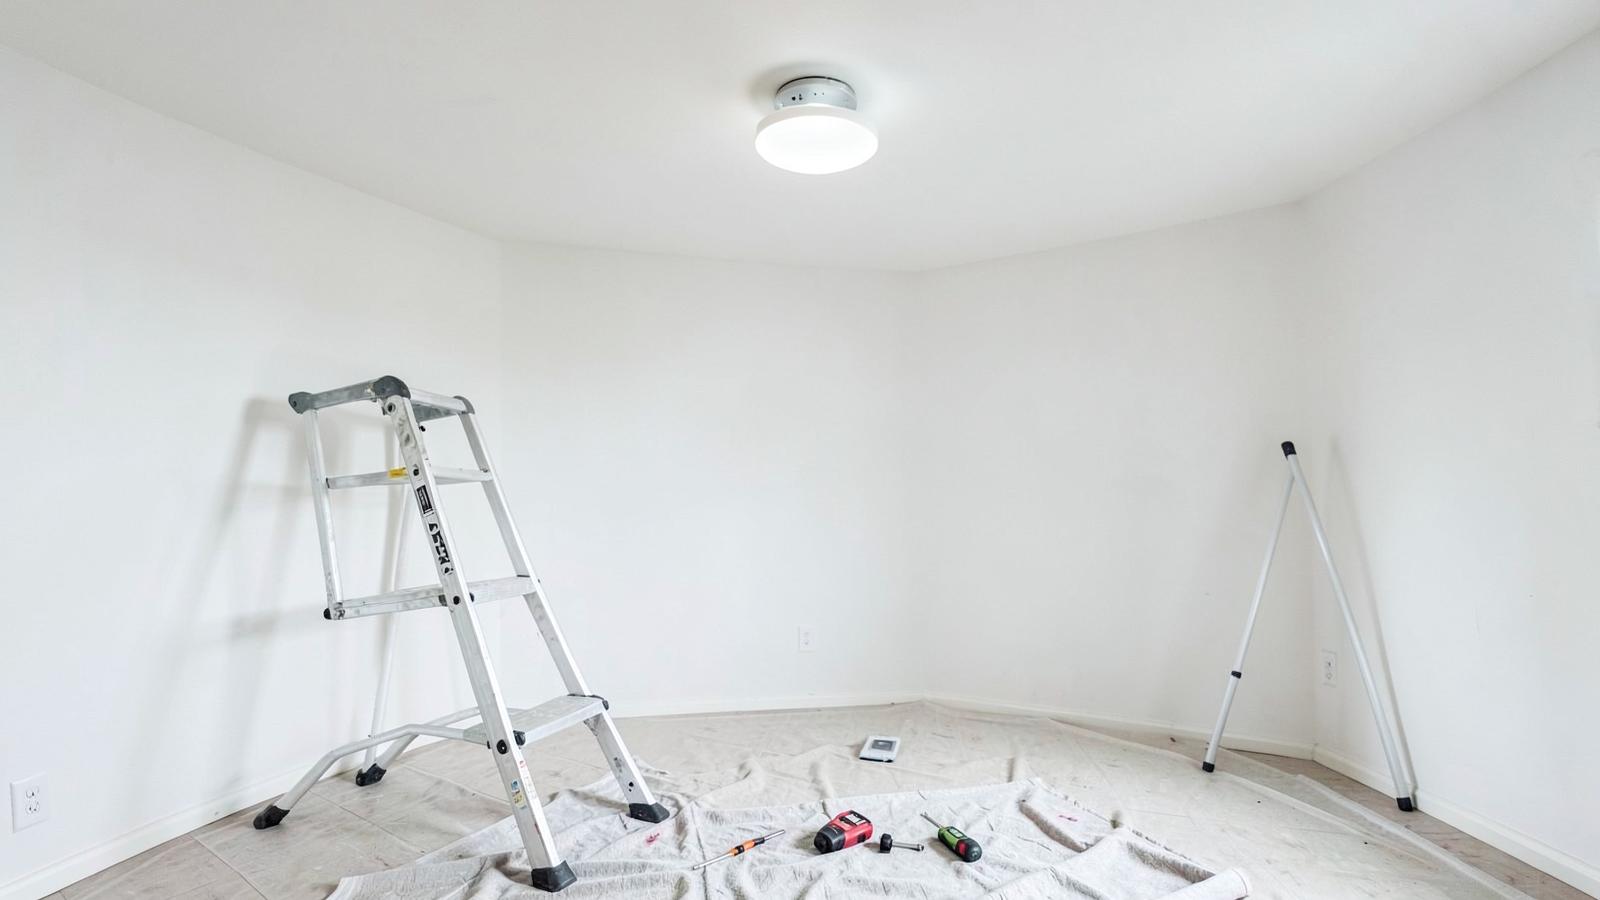
How to Safely Replace a Ceiling Light Fixture
Replace a basic ceiling light confidently by verifying power is off and matching each connection correctly.
Difficulty
Intermediate
Time
60–90 minutes
Overview
Replacing a like-for-like ceiling fixture is manageable when the electrical box and wiring are in good condition. The non-negotiable step is proving the circuit is de-energized before touching conductors. If wiring is brittle, unidentified, aluminum, or missing a safe mounting box, stop and call a licensed electrician.
Tools & materials
Tools
- Non-contact voltage tester
- Screwdrivers
- Wire stripper
- Stable step ladder
- Work light
- Safety glasses
Materials
- Listed ceiling fixture
- Approved wire connectors
- Fixture mounting bracket
- Correct bulb
- Electrical tape for labeling only
Step-by-step instructions
- 1
Shut off and verify power
Turn the light on, switch off its breaker, and confirm the light goes dark. Test your non-contact tester on a known live receptacle, then test the fixture canopy, each conductor, and the box. Recheck the tester on the live source afterward.
- 2
Support and remove the old fixture
Set the ladder on level flooring. Support the fixture while removing its canopy screws. Photograph the existing connections, then remove wire connectors and lower the fixture without letting it hang from the wires.
- 3
Inspect the box and conductors
Confirm the box is secure, undamaged, and rated for the new fixture’s weight. Look for brittle insulation, scorch marks, loose cables, or unfamiliar wiring. Stop if anything is damaged or the box moves.
- 4
Install the mounting hardware
Attach the supplied bracket to the electrical box with the correct machine screws. Follow the fixture instructions for orientation and threaded-stud length. The bracket should sit firmly without rocking.
- 5
Connect ground, neutral, and hot
Following the fixture instructions and your reference photo, connect grounding conductors first, then neutral, then switched hot. Use listed connectors sized for the number and gauge of wires. Tug each conductor gently to confirm it is secure, with no bare copper exposed below the connector.
- 6
Mount and test
Fold conductors neatly into the box without pinching them. Secure the canopy, install the correct bulb, and restore the breaker. Test the wall switch while standing clear. If the breaker trips, switch it off immediately and inspect or call an electrician.
Common pitfalls & troubleshooting
The light does not turn on
Turn power off again, verify the bulb, then recheck that each connector captured all conductors securely.
The canopy will not sit flush
Rearrange wires inside the box and adjust the mounting screws; never force the canopy over pinched wiring.
The breaker trips or a connector warms
Turn the breaker off immediately and contact a licensed electrician.
A safe fixture replacement ends with a solid mount, enclosed connections, and normal operation. When the box or wiring raises any doubt, professional help is the correct tool for the job.